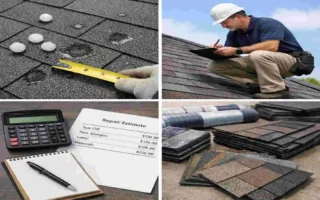
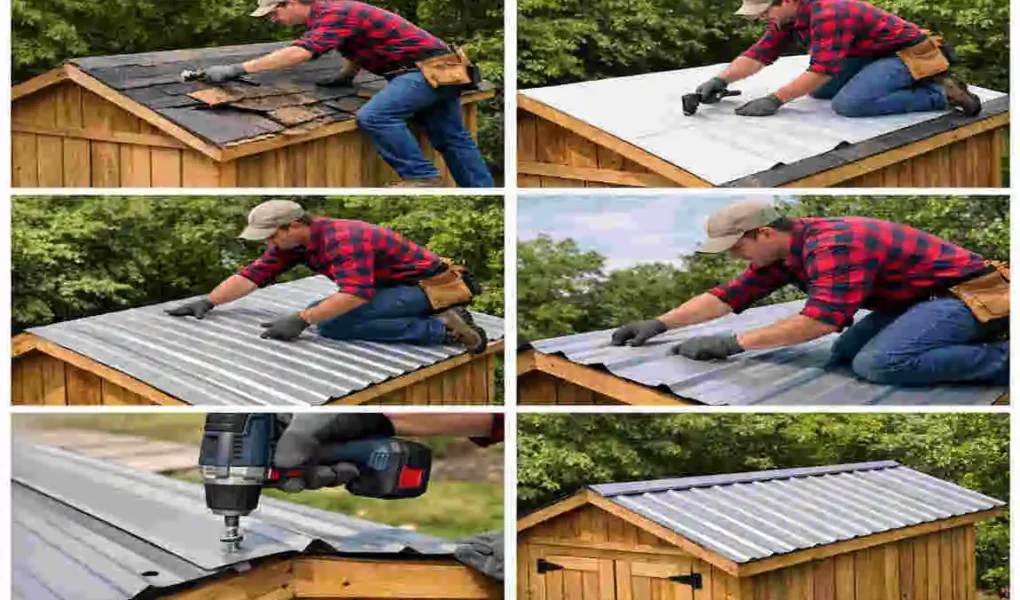
If you are learning how to install metal roofing on a shed, you are probably looking for a roof that lasts longer, handles weather better, and gives your shed a clean, finished look. Metal roofing is a smart choice for many shed owners because it is strong, low-maintenance, and built to handle rain, wind, and heat better than many other roofing options.
Why Choose Metal Roofing for Your Shed?
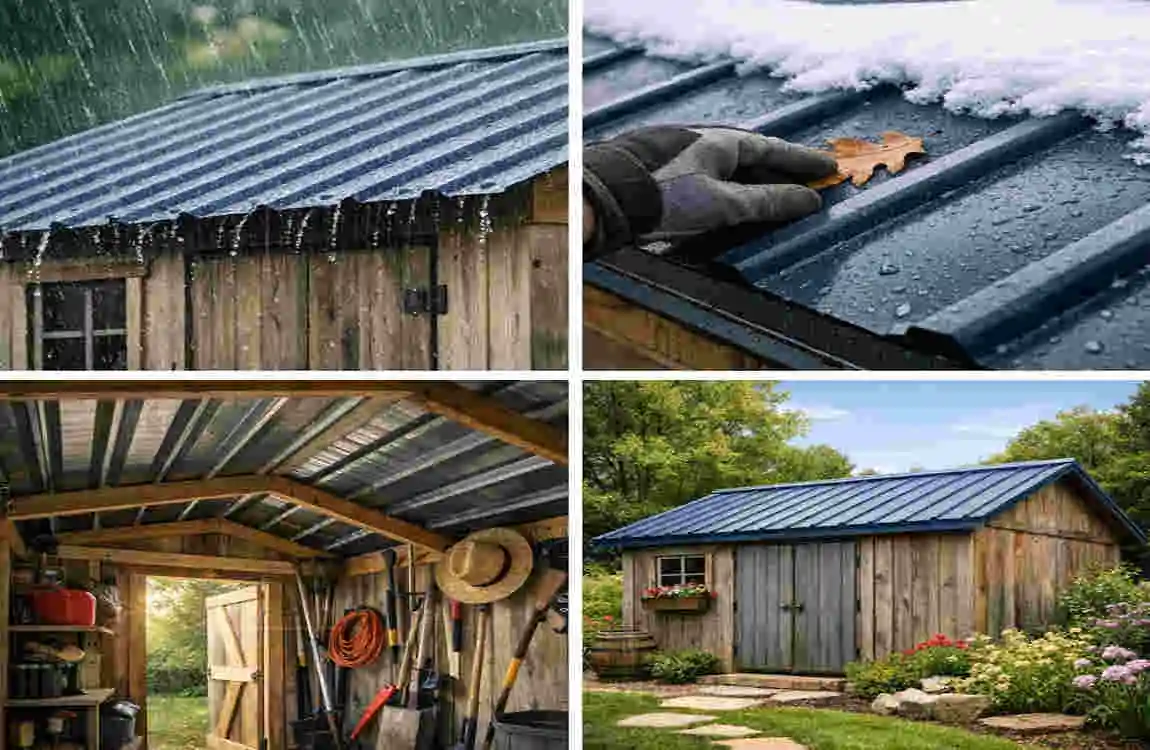
Metal roofing has become a popular choice for sheds for several practical reasons. It is not just about looks. It is about getting a roof that does its job well for many years.
Durability and long lifespan
One of the biggest advantages of metal roofing is strength. Metal panels can last a long time when installed properly. They hold up well against everyday wear and tear, and they do not break down as quickly as some other roofing materials.
If you want a roof you won’t need to replace often, metal is a solid choice. That matters even more for a shed that sits outside all year.
Resistance to rain and weather
A shed is often exposed to rain, wind, snow, and sunlight. Metal roofing handles those conditions better than many low-cost roofing options. It sheds water quickly and does not absorb moisture, unlike some materials.
That means a lower risk of water damage, rot, or soft spots under the roof.
Low-maintenance benefits
Once installed, a metal roof usually needs very little care. You do not have to patch it often or worry about shingle wear in the same way you would with other roof types.
A simple inspection now and then is usually enough to keep it in good shape.
Energy efficiency
Metal roofing can also help reflect heat rather than trap it. For a shed that gets strong sun, this can make a difference in the inside temperature.
If you store tools, yard equipment, or other items in the shed, keeping the roof cooler can be a real plus.
Attractive appearance
Metal roofing gives a shed a neat, clean look. It can make even a simple structure feel more finished and well-built.
You can also choose from various colours and finishes, making it easier to match the shed to your home or yard.
Tools and Materials You Need Before Installation
Before you begin, gather everything you need. Having your tools ready saves time and helps the work go more smoothly.
Essential tools
Here are the basic tools most people use for this project:
- Measuring tape
- Drill
- Tin snips
- Ladder
- Safety equipment
A tape measure helps you plan correctly. A drill is needed for the screws. Tin snips help you cut panels or trim pieces cleanly. A stable ladder is important for reaching the roof safely.
Safety equipment should not be skipped. Gloves, eye protection, and sturdy shoes are all important.
Roofing materials
You will also need the roofing parts themselves. The main items are:
- Metal roofing panels
- Roofing screws
- Underlayment
- Flashing
- Ridge cap
The panels do the main roofing work. Screws hold everything in place. Underlayment adds a layer of moisture protection. Flashing helps seal roof edges. The ridge cap covers the top peak of the roof.
Helpful extras to have nearby
A few extra items can make the job easier:
- Chalk line
- Pencil or marker
- Work gloves
- Sealant if needed
- Extra screws
- Ladder stabilizer
Having spare materials is smart because small mistakes can happen during installation.
Item Purpose Why It Matters
Measuring tape: Measures roof size; helps you buy the right amount of material.
Drill Installs screws Secures panels and trim
Tin snips Cuts metal Lets you adjust panels and flashing
Underlayment Moisture barrier Protects the roof deck
Flashing Edge protection Helps stop leaks
Ridge cap Roof peak cover Seals the top of the shed
Measure and Prepare the Shed Roof
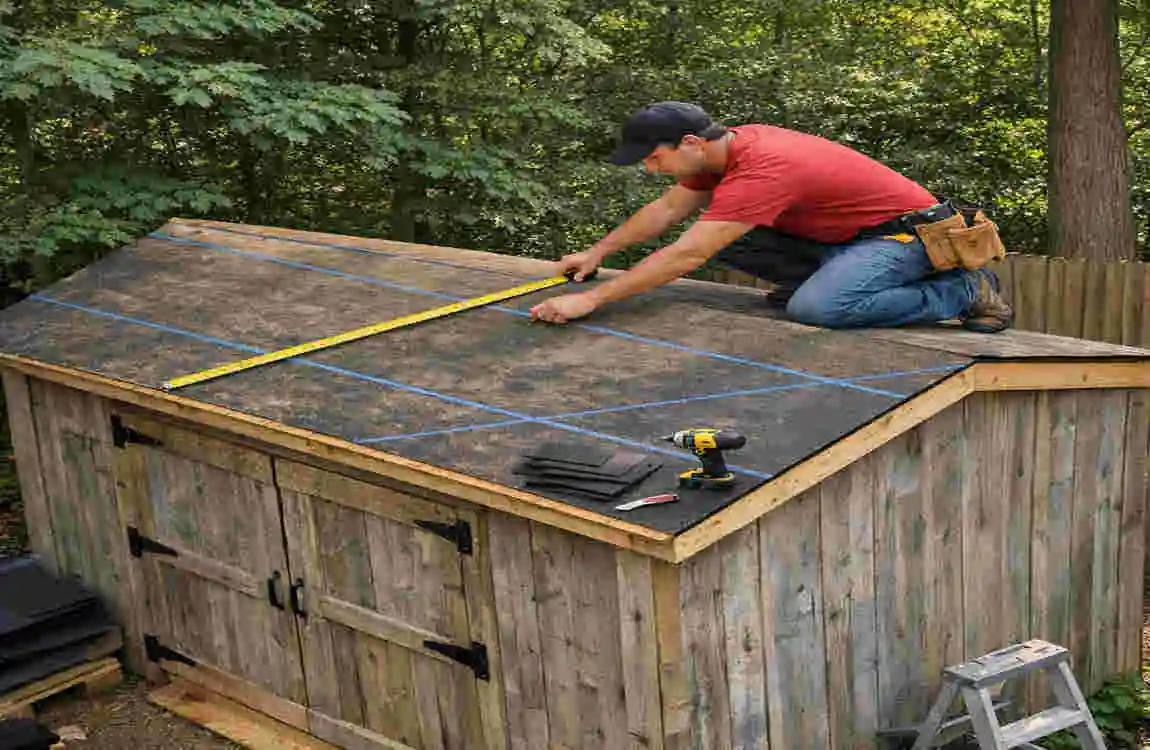
Good preparation makes the rest of the project much easier. Do not rush this part. A careful start helps prevent waste, gaps, and leaks.
Measure the roof carefully.
Start by measuring the length and width of the shed roof. If the roof has two sides, measure each side as needed. Also check the roof slope, as it affects how the panels fit and overlap.
Once you know the roof size, figure out how many panels you need. Always buy a little extra material. That gives you room for overlaps, mistakes, and future repairs.
A few extra inches here and there can matter more than you expect.
Inspect the existing roof.
Before installing anything new, check the current roof surface. Look for:
- Soft or damaged wood
- Loose boards
- Rot or mould
- Old nails or screws
- Dirt, leaves, or debris
If the roof deck is weak, fix it first. Metal roofing works best on a solid base. If the surface is damaged, the new roof will not perform as well.
Clean the roof surface.
Once the roof has been inspected and repaired, clean it thoroughly. Remove dirt, dust, and loose material so the underlayment can sit flat.
A clean surface helps the new roofing materials lay correctly and stay secure.
Install Underlayment and Roofing Panels
This is the stage where the roof starts to take shape. The underlayment and panels work together to protect the shed from moisture and weather.
Install the underlayment
Underlayment is a protective layer that sits between the roof deck and the metal panels. It adds extra defence against water intrusion.
Roll it out smoothly across the roof surface. Overlap the sections according to the product instructions, and secure them properly so they do not shift.
This layer is especially important because it provides the roof with a secondary line of defence.
Install the metal roofing panels.
Now you can begin placing the panels. Start at the bottom edge of the roof and work upward. This helps water flow over the panels in the correct direction.
Make sure the first panel is lined up straight. If the first one is crooked, every panel after it can also end up uneven.
Overlapping the panels correctly is important. The overlap helps keep rain from getting underneath. Use roofing screws made for metal roofing, and do not overtighten them. Tight screws should hold the panel firmly, but too much force can damage the metal or the washer.
Keep the spacing even.
Take your time to keep each panel aligned. Consistent spacing gives the roof a cleaner look and helps it work better.
If needed, pause and check your line after every few panels. A few seconds of correction now can save time later.
Work safely as you go.
Metal panels can be sharp, so handle them carefully. Wear gloves and keep your footing steady on the ladder.
If the roof is steep or awkward to reach, slow down and work carefully rather than rushing.
Add Flashing, Trim, and Ridge Caps
The main panels cover the roof, but the edges and top still need to be sealed. That is where flashing and ridge caps come in.
Install edge and side flashing.
Flashing protects roof edges and helps guide water away from weak spots. It also helps cover any small gaps where panels meet the roof edge.
Place the flashing neatly and secure it so it sits flat. This improves both the appearance and the weather protection of the shed roof.
Install the ridge cap.
The ridge cap goes along the peak of the roof. It seals the top and prevents water from getting in at the highest point.
Place it carefully so it covers the ridge evenly. Then fasten it according to the product instructions.
If the cap leaves gaps, use sealant or the correct closure pieces to help block moisture and wind-driven rain.
Check all transitions
Look at the places where different parts of the roof meet. These transitions are often the most likely spots for leaks if not sealed properly.
Good trim work gives the roof a clean finish and helps it last longer.
Common Mistakes to Avoid When Installing Metal Roofing
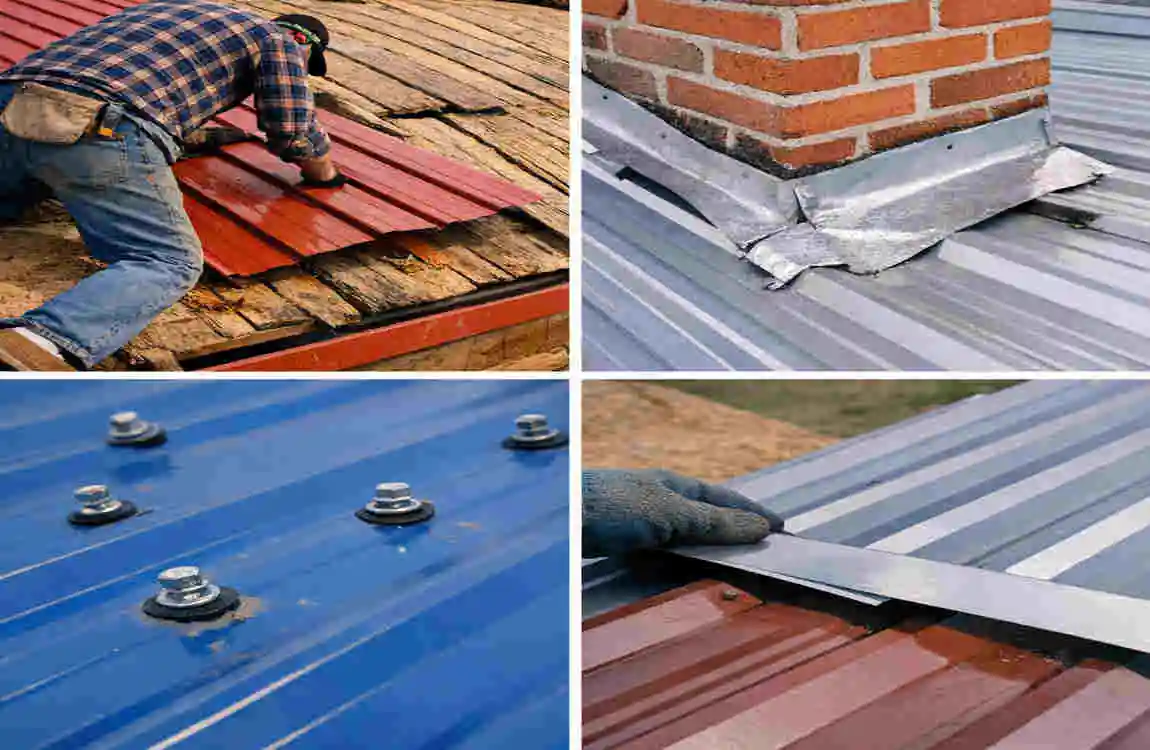
Even a simple shed roof can go wrong if you skip important details. Knowing the common mistakes can help you avoid them.
Measuring the roof incorrectly
This is one of the most common problems. If your measurements are off, you may buy too little material or panels that do not fit correctly.
Always measure twice before ordering.
Using the wrong screws
Not all screws are right for metal roofing. Use roofing screws made for that purpose, preferably with sealing washers.
Wrong screws can loosen, rust, or fail to seal properly.
Installing panels unevenly
If the first panel is not straight, the whole roof can look off. Uneven panels can also create weak spots where water might collect.
Take time to line up the first piece correctly.
Forgetting underlayment
Some people think the metal panels alone are enough. Underlayment gives you extra protection and is usually worth including.
Skipping it can increase the risk of moisture problems later.
Overtightening screws
This is a common beginner mistake. If you tighten too hard, you can damage the washer or distort the panel.
The screw should be snug, not crushed.
Ignoring safety precautions
A shed roof may be smaller than a house roof, but it is still a roof. Use proper footwear, keep the ladder steady, and work in safe weather.
Do not rush to finish quickly.
Frequently Asked Questions
Can I install metal roofing on a shed myself?
Yes, many homeowners can do it themselves if they have basic tools, follow safety steps, and measure carefully.
Do I need underlayment under metal roofing on a shed?
Underlayment is generally recommended because it provides the roof with additional moisture protection.
What screws should I use for metal roofing?
Use screws made specifically for metal roofing. Sealing washers are important because they help prevent water leakage.
How long does metal roofing last on a shed?
A properly installed and maintained metal roof can last for many years. The exact lifespan depends on the material and weather conditions.
Can I install metal roofing over old shed shingles?
Sometimes yes, but the old roof should be inspected first. Local building rules also matter, so check those before starting.
How do I stop a metal shed roof from leaking?
Make sure panels overlap correctly, screws are placed properly, flashing is sealed, and ridge caps are installed tightly.
| Step | What to Do | Quick Tip |
|---|---|---|
| Inspect the Roof | Check for damaged or weak areas. | Repair problems before installation. |
| Measure the Roof | Measure length and width accurately. | Add extra material for overhangs. |
| Install Underlayment | Add roofing felt or synthetic underlayment. | Helps protect against moisture. |
| Add Drip Edge | Install metal edging along roof edges. | Directs rainwater away. |
| Place Metal Panels | Start from one side and lay panels evenly. | Keep panels straight and overlapping. |
Related Posts