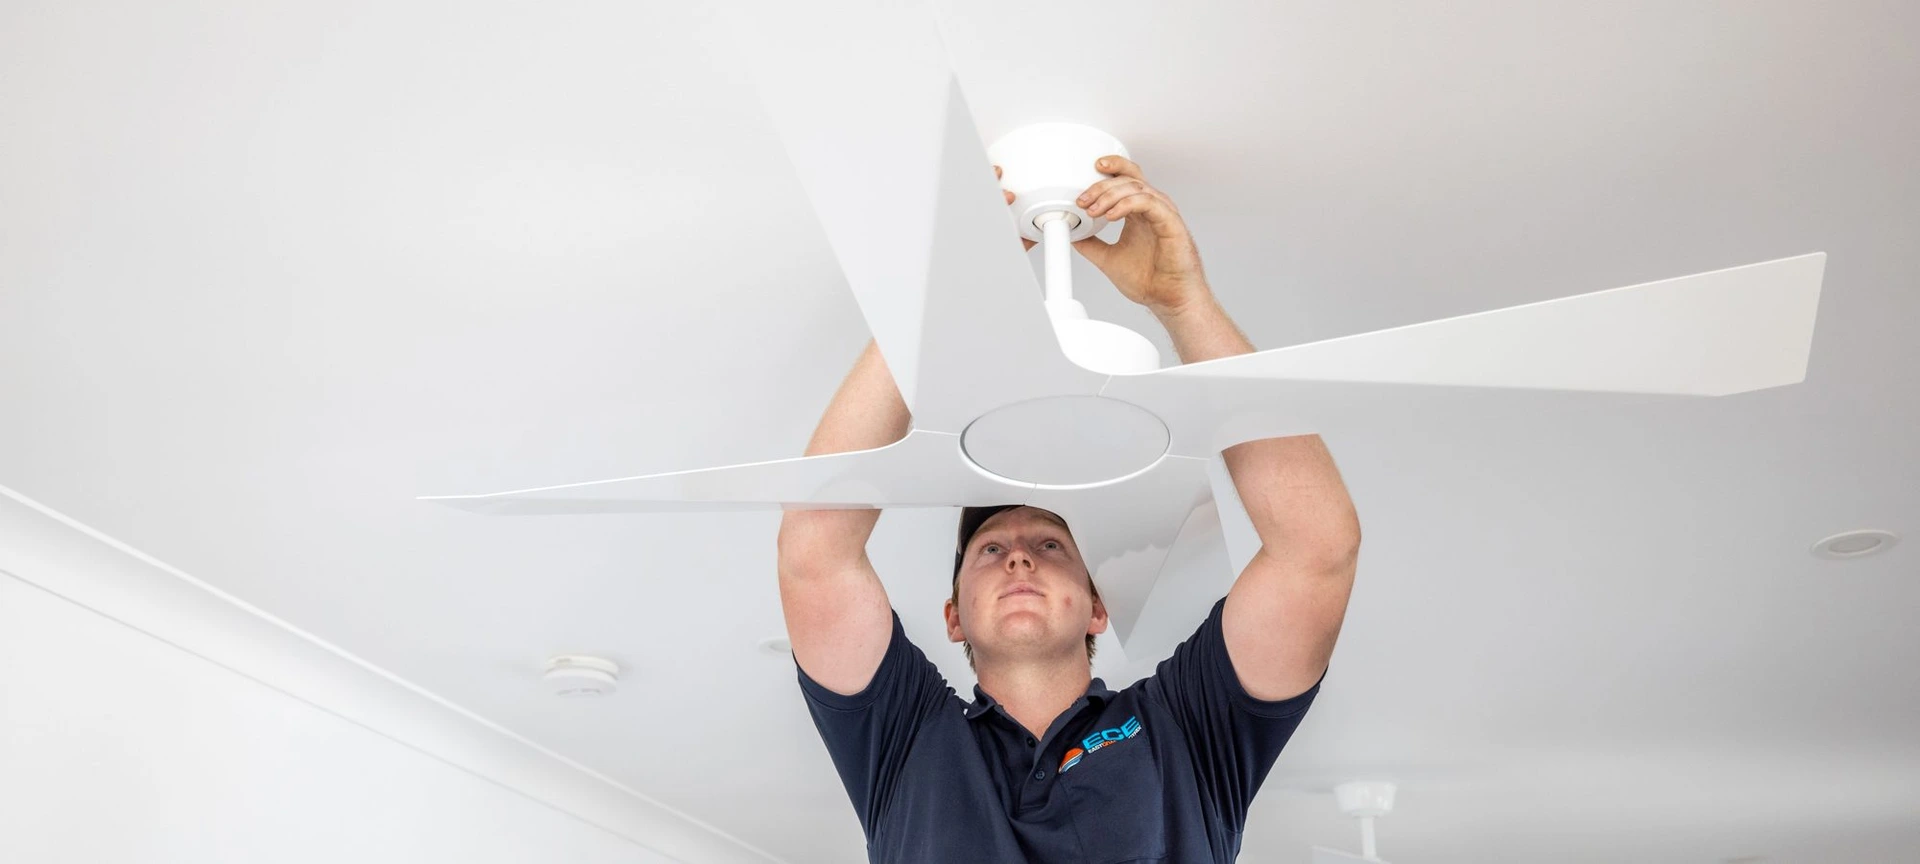
Ceiling fans are functional additions to a room and stylish accessories that can enhance your home’s overall aesthetic and comfort level. Installing a ceiling fan may seem daunting, but it can be a straightforward DIY project with the right tools and knowledge. This comprehensive guide will walk you through installing a ceiling fan safely and effectively.
Step 1: Gather Your Tools and Materials

Before you begin, make sure you have all the necessary tools and materials on hand:
- Ceiling fan kit (including fan blades, motor housing, mounting bracket, screws, and hardware)
- Ceiling fan support brace (if required)
- Screwdriver (Phillips and flat-head)
- Adjustable wrench or pliers
- Wire cutters/strippers
- Voltage tester
- Ladder or step stool
- Electrical tape
- Wire connectors
Step 2: Turn Off the Power to the Ceiling Fixture
Electrical fixtures should always be handled with safety in mind. Start by turning off the power to the existing ceiling fixture at the circuit breaker or fuse box.
Step 3: Remove the Existing Fixture
Use a screwdriver to remove the screws or bolts holding the existing ceiling fixture in place. Carefully lower the fixture and disconnect the electrical wires by untwisting the wire connectors. Be sure to support the fixture with one hand as you disconnect the cables to prevent it from falling.
Step 4: Install the Ceiling Fan Support Brace (if needed)
If your ceiling fan will be mounted to a standard ceiling box, you may need to install a support brace to ensure proper support and stability. Follow the manufacturer’s instructions to secure the support brace between ceiling joists using screws or bolts provided.
Step 5: Assemble the Ceiling Fan
Begin by assembling the ceiling fan components according to the manufacturer’s instructions. This typically involves attaching the fan blades to the motor housing, securing the mounting bracket to the ceiling, and wiring the fan motor to the electrical box.
Step 6: Mount the Ceiling Fan
Carefully lift the assembled ceiling fan and align the mounting bracket with the electrical box in the ceiling. Secure the bracket in place using the screws provided, ensuring that it is firmly attached to the ceiling.
Step 7: Connect the Wiring
Identify the wires from the ceiling fan (typically black, white, and green or bare copper) and the cables from the electrical box. Use wire connectors to join the corresponding wires together: black to black (hot), white to white (neutral), and green or bare copper to green or bare copper (ground). Secure the connections with electrical tape.
Step 8: Attach the Fan Blades
Once the wiring is complete, attach the fan blades to the motor housing using the screws provided. Follow the manufacturer’s blade alignment and spacing instructions to ensure optimal performance and balance.
Step 9:Light Kit (if applicable) installation
If your ceiling fan includes a light kit, follow the manufacturer’s instructions to install it. This typically involves connecting the wiring from the light kit to the wiring from the fan motor, securing the light kit in place, and attaching the light bulbs or shades.
Step 10: Secure the Canopy
Slide the canopy cover over the mounting bracket and secure it in place using the screws provided. This will conceal the wiring and mounting hardware, giving the ceiling fan a finished appearance.
Step 11: Test the Ceiling Fan
Before finishing up, turn the power back on at the circuit breaker or fuse box and test the ceiling fan to ensure it functions correctly. Use the fan’s pull chains or remote control (if applicable) to adjust the speed and direction of the fan blades.
Step 12: Adjust Balance (if needed)
If the ceiling fan wobbles or vibrates excessively, it must be balanced. Use a balancing kit (included with many ceiling fan kits) or adjustable weights to correct any imbalance in the fan blades.
Step 13: Secure and Tidy Up
Once you’re satisfied with the installation and performance of the ceiling fan, use screws or bolts to secure any loose components and tidy up any loose wires or cables. Replace the fan’s decorative canopy cover and other trim pieces as needed.
Step 14: Enjoy Your New Ceiling Fan
With the installation complete, sit back, relax, and enjoy the cool breeze and added comfort your new ceiling fan provides. Whether it’s circulating air, providing ambient lighting, or enhancing the style of your room, a ceiling fan is a versatile and practical addition to any home.


