If you want to save money long-term and enjoy endless hot water, a tankless water heater may be right. But remember how complicated the project is.
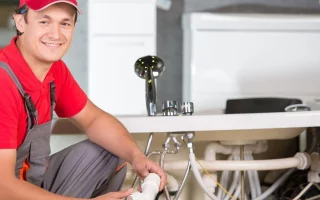
It would help if you worked with a plumbing technician with good reviews to ensure the job is done correctly. Find one by searching online and talking to friends and family.
Installation
A few things must be considered if installing a new tankless water heater. Depending on your model, you may need to install different pipes for cold and hot water, a gas line, or venting. Having a professional who handles the Dallas tankless water heater installation is always a good idea for the best results.
First, be sure to turn off the power to your unit. Then, use a screwdriver to remove the cover carefully. Be careful not to break cables connected to the body since these can power an LCD screen or other features. Now, follow the manual’s directions for mounting your tankless water heater on the wall and putting in any necessary pipework. Leaving space around the unit for service is essential, especially if you have a whole home system.
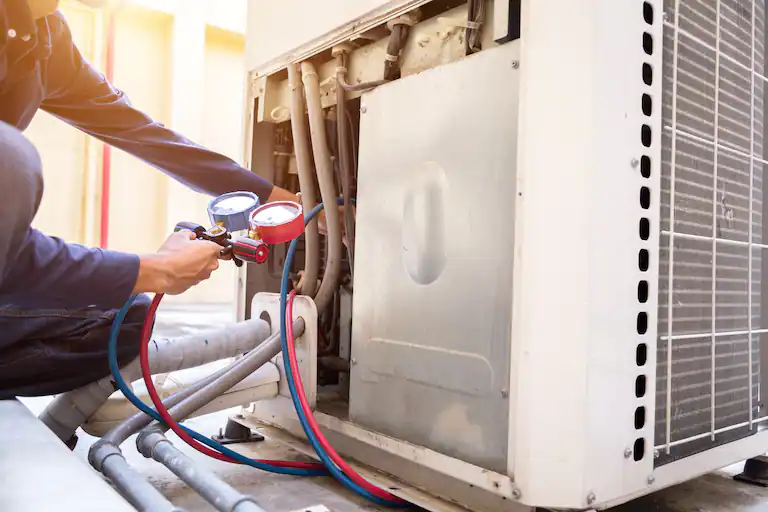
For a gas tankless water heater, install a tee and valve in your existing gas line or run a new corrugated stainless steel supply line. You must often install a vent pipe connecting the unit’s vent shaft to an exhaust. Be sure to consult your manual and local plumbing codes for all requirements.
Thermostat Setup
Before installing the new unit, it’s essential to prepare your home for its arrival. Depending on your chosen tankless model, you may need to upgrade your gas line or reroute your water pipes. This job is best left to a licensed professional, but ensuring your new system will work properly is essential.
Once the gas and water lines are installed, you can mount your new heater in a designated spot in your home, following the manufacturer’s instructions for the specific location. Before doing so, remove the front cover with a screwdriver and note any cables connecting between the body and the unit (they’ll be needed later).
The next step is to install the water pipes that will run into and out of your new tankless water heater. These ports should be located toward the bottom of your unit, and your package should include an installation diagram that shows their exact locations. When making these connections, choose a pipe material that can tolerate high temperatures, such as copper or stainless steel flexible tubing.
After the pipes are connected, you should bleed them by opening all your faucets and letting the water run for several minutes to release air in the lines. Finally, if your model has a condensate drain, you’ll need to install the tubing and routing, allowing it to drain water outside your home.
Venting
A tankless water heater is an excellent choice for replacing a conventional one in older homes. However, the payback math changes significantly when considering a new home or building construction. In this case, you’ll need to determine the correct size of the unit to meet your hot water needs and ensure energy efficiency. A professional plumber can help you with this process.
Depending on the type of tankless unit you choose, you may need to install a gas line or connect your existing one. You’ll also need to ensure that your gas supply is adequate for the unit’s load and has proper venting for outdoor installations.
Before you begin working, make sure that the circuit breaker that powers your old water heater is shut off and that the water heater is fully drained (see Ron Hazelton’s video for instructions). Then, disconnect the water lines from the old water heater using channel-type pliers or a pipe wrench. You’ll also need to shut off the valves at the inlet and outlet of your new water heater.
Next, mount your new water heater and attach the water supply pipes according to the manufacturer’s directions. If installing a gas tankless water heater, install a new gas line and a pressure relief valve in the wall. You’ll also need to connect a gas supply valve to your new water heater and a vent pipe that connects the exhaust shaft to an outside vent.
Electrical Connections
A tankless water heater needs a 240-volt electrical connection to function, whether plugged into a standard outlet or wired directly into your service panel. To make this connection, you’ll need to read the product manual to determine its wattage requirements and ensure that your circuit breaker can handle it. GFCI outlets and whole house surge protectors are also suitable investments since they protect you from shocks or current spikes that could harm your new appliance.
Next, you’ll need to create hot and cold water connections that run in and out of the tankless unit. It’s best to use stainless steel flex pipes that fit your water heater, as these can withstand high temperatures and offer greater flexibility. You may also receive an installation diagram with the unit, which you should refer to to locate these connections.
Once you’ve connected the pipes, you must install the pressure and flow valves. These devices will allow you to shut off the water supply to your tankless system when needed for repairs without interrupting your home’s water supply.
When the final steps of your tankless water heater installation are complete, you can reconnect power and test it for operation. If everything works as it should, you can switch on your ability and enjoy your new appliance!